Set Up Edge Animations
Before you can start creating filmstrips and presenting videos to patients, you'll need to configure your Edge Animations settings and download the video content library.
Edge Animations Settings
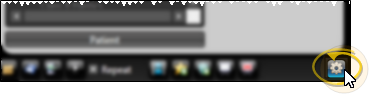
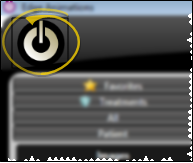
Open Edge Animations, then click the Settings icon to configure your preferences.
General Settings
Header Logo
Add your practice logo to appear in the corner of your filmstrip presentations. The logo will be visible when playing filmstrips and in published videos.
History Category
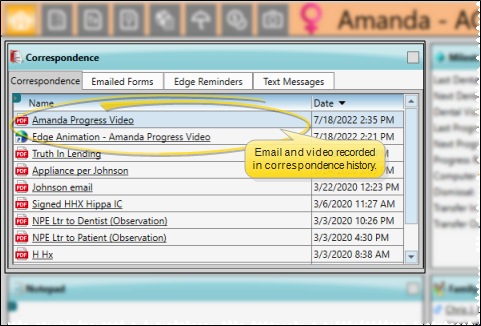
Select a history category to automatically log when Edge Animations filmstrips are presented to patients. This creates an audit trail in the patient's correspondence history.
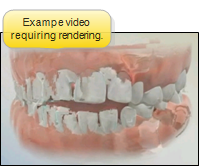
Render in Software Mode
Enable this option if you experience display issues with videos. Software rendering is slower but more compatible with older graphics hardware.
Download Videos
Edge Animations includes an extensive library of educational videos. Use the Asset Manager to download videos to your local system for faster playback.
Open the Asset Manager
Click the Asset Manager button in Edge Animations settings to view and download available videos.

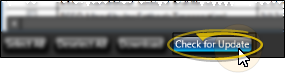
Check for Updates
Click Check for Updates to see if new videos are available for download.
Download Videos
Select the videos you want to download and click Download. Videos are downloaded in the background and will be available once the download completes.
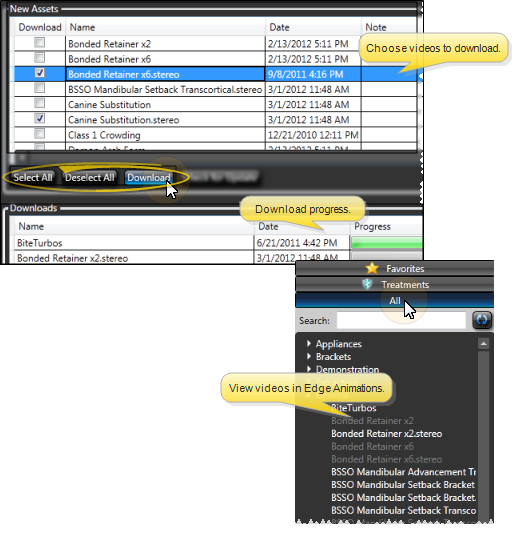
Video files can be large. Ensure you have adequate disk space before downloading the full library.
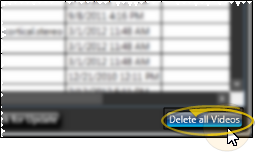
Delete Videos
To free up disk space, you can delete videos you no longer need. Select the videos and click Delete.
Next Steps
Once you've configured settings and downloaded videos, you're ready to:
- Create Filmstrips - Build custom presentations
- Play Filmstrips - Present to patients