Set Up Quick Labels
Use the Quick Label editor to set up the information and format of your quick labels.
Open the Quick Labels Editor
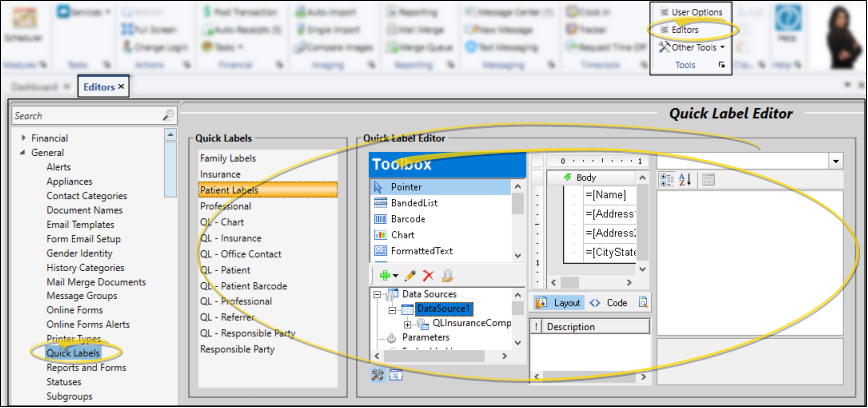
Select Editors from the Tools section of the Home ribbon bar. Then, from the General section, open the Quick Labels editor.
Set Up Your Label
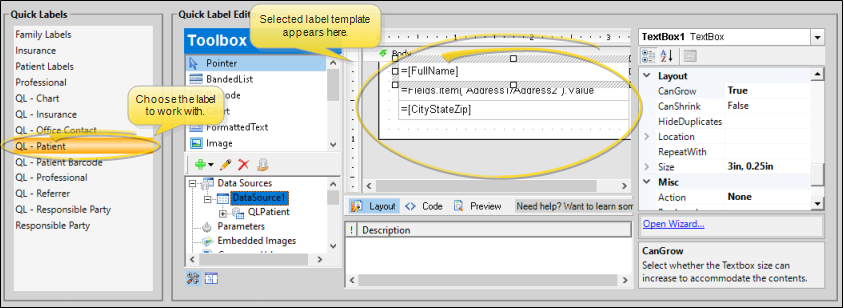
Choose the type of label you want to work with. The template for that label, shown in the middle of the screen, shows you the currently selected fields and where those fields will print on your quick label. You can set up each type of Quick Label to include different types of information.
Add and Move fields
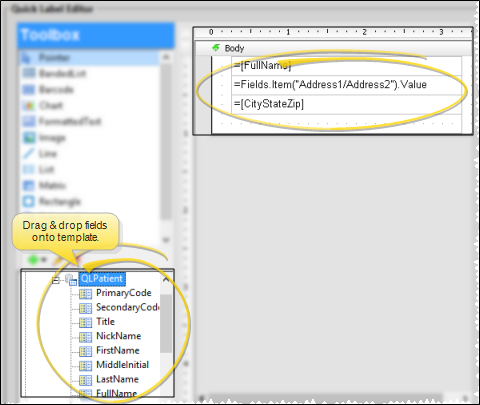
The most common fields available for this type of Quick Label are listed below the template, in the Data Source section. You can click and drag a field from the list onto the template, as well as click and drag fields already on the template to new locations.
Remove Fields
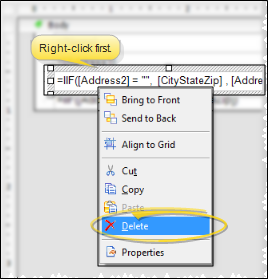
To remove a field from the label, right-click and select Delete.
Edit Appearance
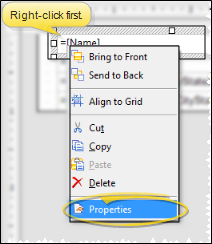
Right-click the field to work with, and select Properties. Then, choose the type of formatting to modify. For example, you can select Font or Appearance to change the way the field will look when it prints, or choose General to work with the contents and conditional requirements of the field.
Add Other Objects
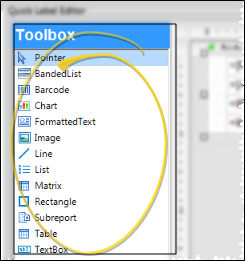
Select an item from the Toolbox at the top of the window to add other items to your label, such as Images, static Text, Barcodes, and Rectangles.
Save Changes
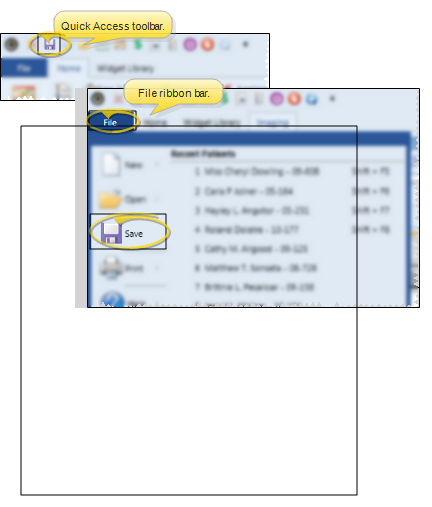
Click Save in your Quick Access toolbar or File ribbon bar (or press Ctrl+S on your keyboard) to save any changes you have made.