Open SmartCeph
The SmartCeph window can be configured to meet your needs and preferences. You can choose to minimize, move, and hide ribbon bars and sections of the window as you wish. So, as you read our instructions and examples, be aware that your icons and tools may not be in the same location as ours.
Open SmartCeph
Lateral Ceph Required
- You always open SmartCeph for a specific patient (even if you only want to open the software to check some system settings). First, go to the patient's Imaging page and select the lateral ceph you want to work with. Then, click the SmartCeph icon. If you have not first selected the patient's lateral ceph, or if you have not yet scanned or imported a lateral ceph for the selected patient, the SmartCeph icon will be dimmed, and you will not be able to open the software.

Facial Photo - If the patient has a facial lateral photo for the same timepoint as the ceph, the two images can be aligned in SmartCeph and viewed simultaneously. If, when you open SmartCeph for a patient that does not have a lateral facial photo, a message will appear: Unable to load Lateral Facial Photo. Click Ok to proceed with the tracing. You will be able to align the ceph with the photo after a lateral facial photo is imported or scanned for this patient and you relaunch SmartCeph.
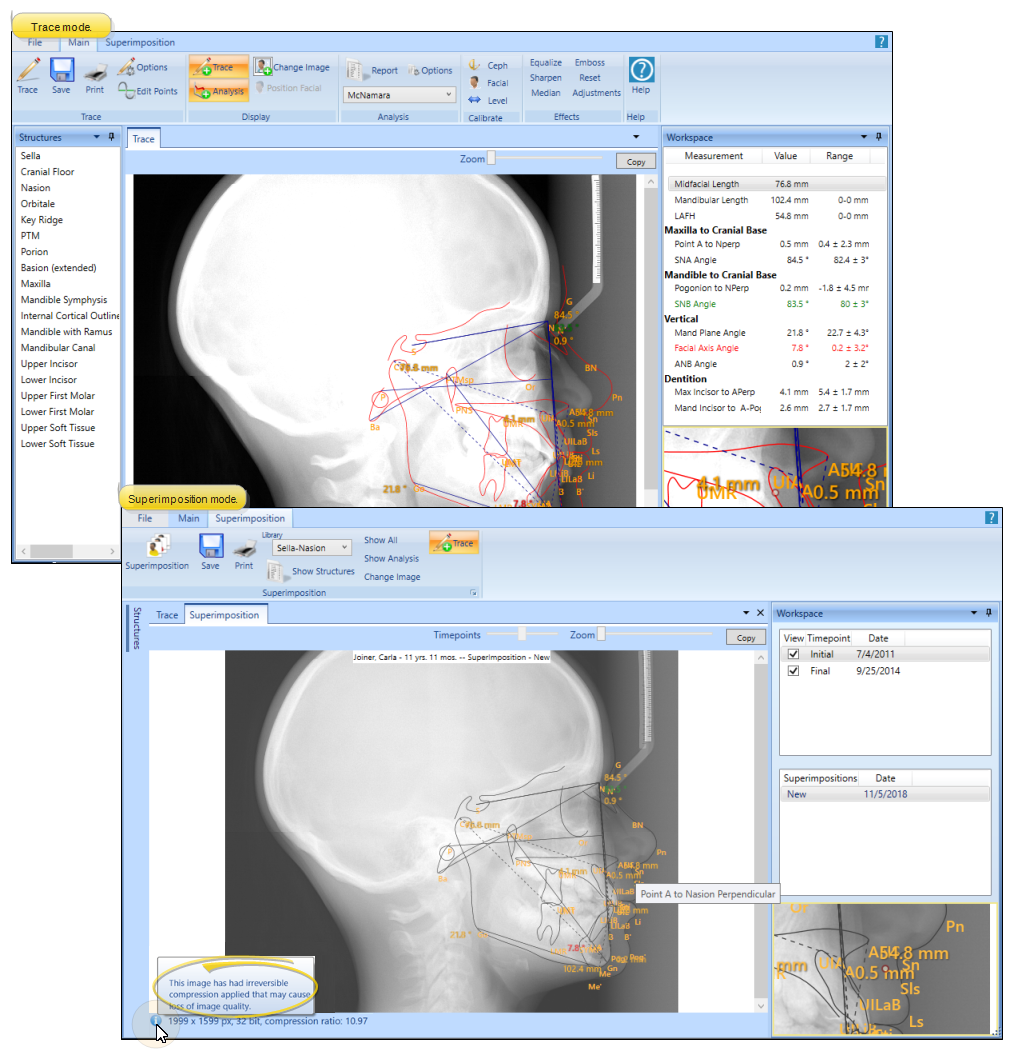
SmartCeph Ribbon Bars
Main Ribbon - You use the icons on the Main ribbon bar to choose your tracing options, begin and end ceph tracing, select the layers to view, select your analysis options and output, calibrate the ceph and facial photo, and visually enhance the image.
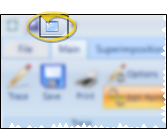
Superimposition Ribbon - You use the icons on the Superimposition ribbon to layer tracings, analysis, headfilms and photographs to provide you with additional treatment planning and progress data. See "Superimposition" for details about using this feature.
Toggle Full Screen Mode
- Select the Full Screen Toggle icon from the Quick Access toolbar at the top of the SmartCeph window to maximize / minimize the SmartCeph work area. When full screen mode is enabled, SmartCeph minimizes the ribbon bar and pins the workspace and structures areas so that your main work area space is as large as possible, maximizing the visual presentation of your SmartCeph analysis.
The SmartCeph Window
Structures List
The Structures list, generally found on the left side of the screen, lists the structures you have selected in your Analysis Options. When in trace mode, the current structure to be placed is highlighted.
Main Work Area
Work Area Tabs - The main work area includes a Trace tab with the ceph you are currently working on, and can have as many Superimposition tabs as you create, showing any combination of the tracings, analysis, headfilms, and photographs you have imported into SmartCeph for the patient. You can click among the tabs to work on and view different aspects of the patient's SmartCeph images.
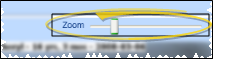
Zoom Slider
- You can click and drag the zoom slider at the top of the work area to make the image bigger or smaller. If you make the image larger than the window, scroll bars will appear at the bottom and / or right edges of the window so you can move the focus to see the entire image.
Copy - Click Copy from the top of the Trace or Superimposition work area to copy whatever you currently see in the window to your clipboard. For example, if you have displayed the tracing and analysis, the copied image will include both of these items. You can then use the image in another application, such as word processing.
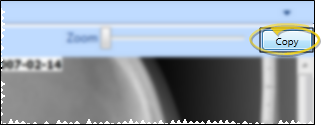
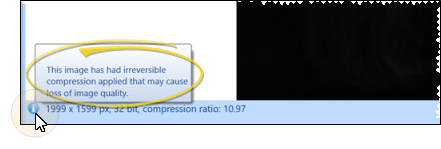
Image File Details
- Basic details about the image, including the approximate compression ratio, are displayed in SmartCeph. You can hover your cursor over the Information icon to display an important advisory about image compression.
Workspace Area
The Workspace area is usually along the right edge of the SmartCeph window, although you can move it anywhere you wish. The information displayed in the Workspace depends on whether you are in tracing mode or superimposition mode.
Current Landmark Reference - While tracing, the upper portion of the Workspace area shows you the graphical representation and technical terminology for the currently selected landmark. See "Tracing" for details.
Analysis - When you view a completed tracing on the Trace tab, the analysis text appears in the upper portion of the Workspace. See "Analysis Review" for details.
Timepoint List - While in Superimposition mode, the top portion of the Workspace area lists all available ceph timepoints for the patient. Select each timepoint you want to include in the Superimposition. SmartCeph scales all timepoints to the calibration of the first one you select.
Saved Superimposition - While in Superimposition mode, any superimpositions you have saved for the patient will be listed in the Workspace area. You can click a saved superimposition to load it in its own Superimposition tab.
Zoom Window - The Zoom Window appears at the bottom portion of the Workspace area, magnifying the area around your current cursor position in the work area. As you move your pointer across the image, the zoom focus changes so that the area you are working on is centered. You can alter the magnification ratio and enable / disable markings in your Zoom Window with your Trace Options settings.